
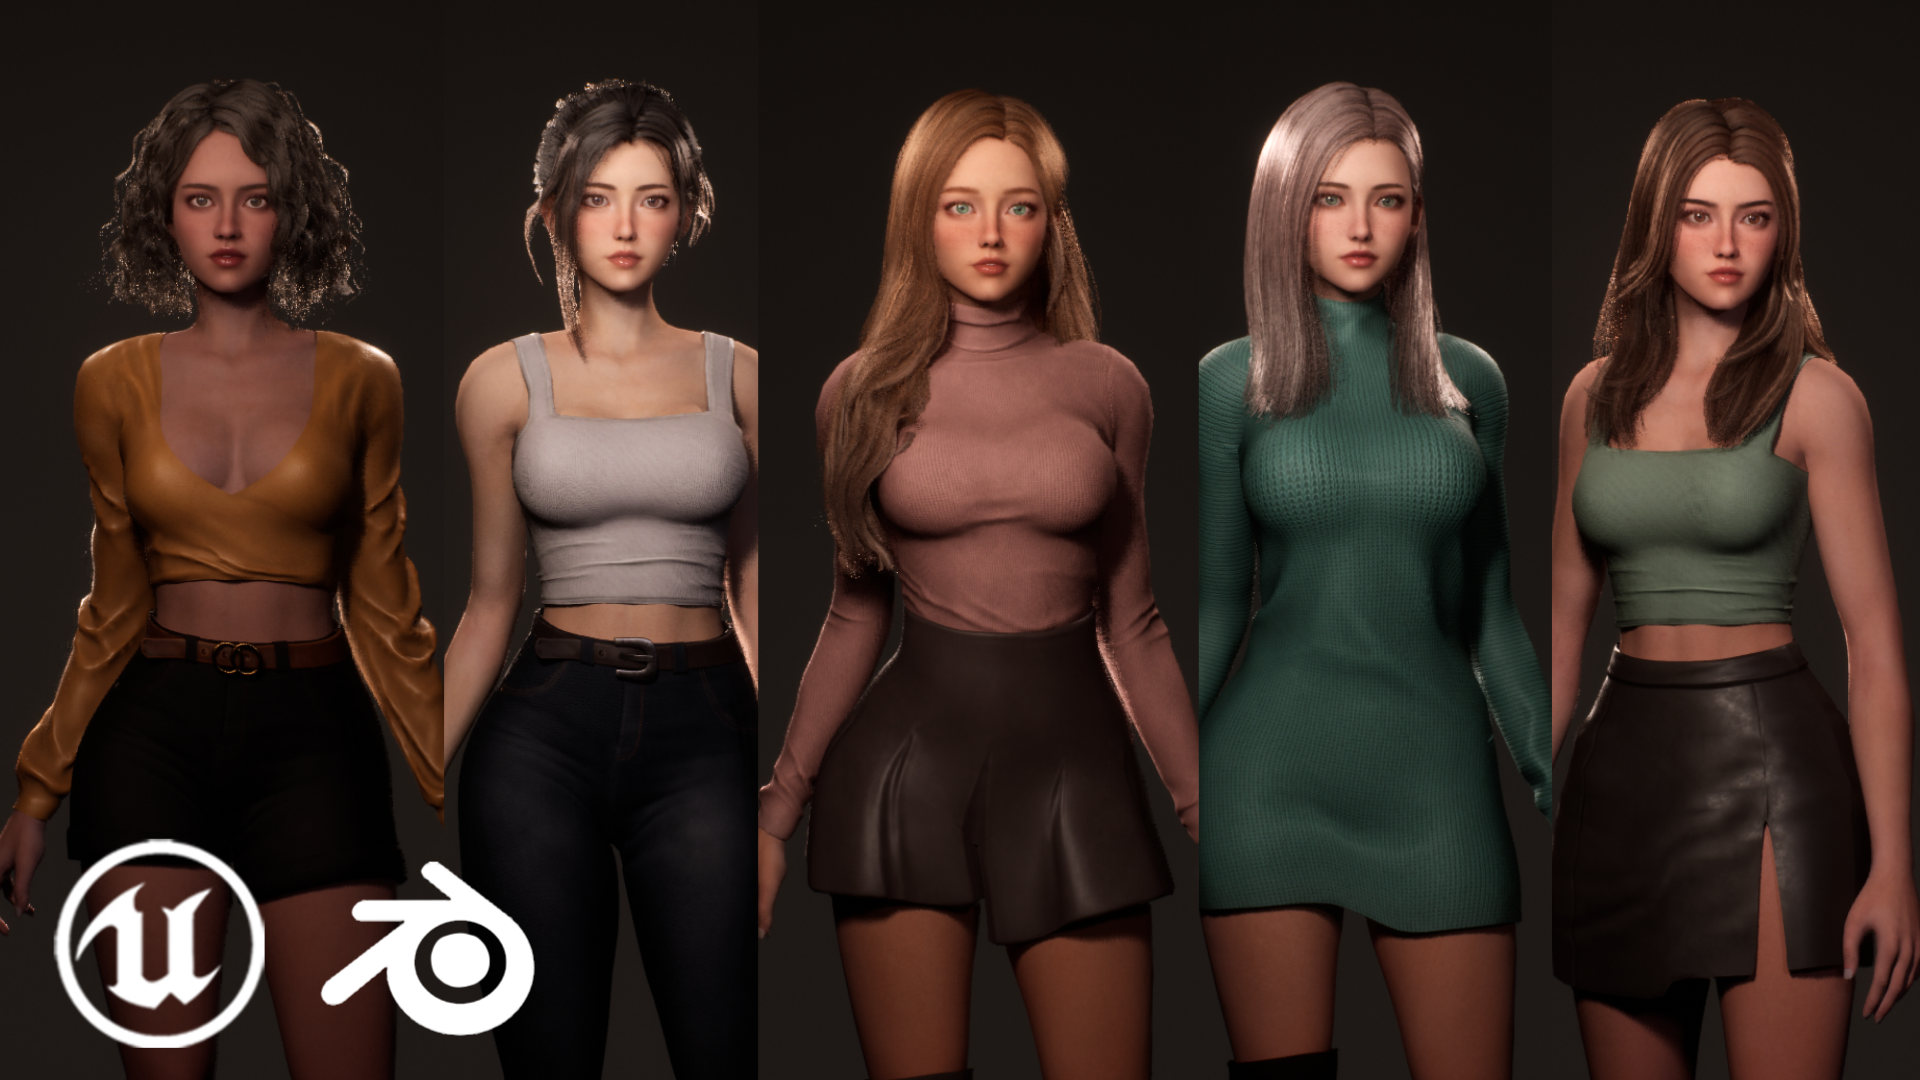
Xandra Character Creator can be used as a
Player Avatar maker within your game at runtime.
We have created an example to show you how to do this.
To begin, you must start with with the correct demo scene. The (L_CharacterCreator_InGame map)
L_CharacterCreator_InGame is a demo for runtime player character creation.
To see how it works, run Lvl_CharacterCreator_InGame. When you’ve created a character, click Play. A gameplay scene will be loaded, and your created character will be used from the save file.
You’ll need to do additional blueprint work to adapt this to your game’s save file format if you already have one.
A quick summary of how this is set up:
- If you open Lvl Demo Game and click Window -> World settings you will see that the Game Mode Override is set to BP DemoGameMode.
- BP DemoGameMode defines the default Pawn as BP DemoPlayerPawn
- BP Demo Player Pawn loads the save game in LoadConfigFromGameSave to make the character appearance into what the player created when the game is loaded.
- It also has some useful methods to change the character appearance in runtime – see the events in the Event Graph.
- To see this example, open BP_DemoPlayerPawn and look at the input events for keyboard button presses.
- Pressing J and K is an example that changes the body type
- Pressing I is an example that changes the ‘Full outfit’ (i.e. a dress)
- Pressing L is an example that changes the hairstyle
- Pressing P is an example that changes the hair color.
- The row name here must exactly match the row name in the Data Table for the wardrobe item being set.
- These examples also save the appearance to the example Save Game.
- Press O is a different type of example that directly sets the mesh to something that does not exist in wardrobe items.
- This might be useful for changing things like the Player’s clothing without changing their save file appearance, for example, or if you otherwise want to make changes to the character appearance that do not save to the Save Game.
- If you place the BP_UISpawner_InGame blueprint into a scene, it will spawn the in-game character creator including the cameras at the location where you have placed that blueprint. The CameraManager is a variable in WBP_UI_Common if you need to change the camera’s location directly during runtime.
- Inside the BP_DemoSaveGame blueprint, the CharacterAppearanceConfig variable stores a map of string field names to values that represents the appearance of the character. This is the data that is used to save and load the character appearance.
- In the WBP_UI_Common blueprint the method Load Character in Demo Level has a variable ‘Demo Level Name’ that changes which level is loaded when you’re using the in-game character creator demo.
How to change the Destination Level in the In-Game Character Creator Example Map
(This determines which map loads when you click "Play")
First, the change level to load to your new level:
- Open Lvl_DEMO_CharCreator_InGame and set the "Scene to Load After Char Creation" on the BP_UISpawner_InGame actor to the name of your new level. It must match exactly. This should make it load the correct level automatically.
- Then, if necessary, ensure that your new level runs the gamemode/pawn logic that loads the character appearance:
- If the character appearance is no longer loading correctly now that you are opening a different scene you might need to do the following
- (Might be required, depending) Open World Settings for your new level and ensure the GameMode set in Game mode override (if any) is using the pawn "BP_DemoPlayerPawn". If you're using our sample project and haven't changed the default gamemode in Project Settings, then this step is not necessary because it will use the correct pawn by default
- (Advanced/Optional) OR, if you want to use your own custom Pawn inheriting from BP_XandraCustomChar parent actor, you will need to ensure it contains the logic from "BP_DemoPlayerPawn", particularly the logic that is in Begin Play to load the character from the game save that is created when you clicked "Play".